Bitwarden 설치 및 사용자 관리 실습
Bitwarden은 오픈소스 패스워드 관리 프로그램으로, 암호, 메모, 카드 정보 등을 안전하게 저장하고 관리할 수 있는 도구입니다. Bitwarden은 다양한 플랫폼(Windows, macOS, Linux, iOS, Android)에서 사용할 수 있으며, 웹 브라우저 확장 프로그램도 제공하여 편리하게 비밀번호를 관리할 수 있다.
———————————————————————————————————————————
- Ubuntu 22.04
- 192.168.0.22
———————————————————————————————————————————
- 시스템 패키지를 최신 버전으로 업데이트
apt -y update
apt -y upgrade- 종속성 설치
apt -y install apt-transport-https ca-certificates curl software-properties-common- docker GPG 키를 추가
curl -fsSL https://download.docker.com/linux/ubuntu/gpg | apt-key add -- docker CE 레포지토리 추가
add-apt-repository "deb [arch=amd64] https://download.docker.com/linux/ubuntu jammy stable"- docker CE 설치
apt -y install docker-ce- 서비스 실행 상태 확인
systemctl status docker- docker compose 설치
curl -sL "https://github.com/docker/compose/releases/download/1.29.2/docker-compose-$(uname -s)-$(uname -m)" -o /usr/local/bin/docker-compose- 다운로드한 바이너리에 대한 실행 권한을 설정
chmod +x /usr/local/bin/docker-compose- docker compose 버전 확인
docker-compose --version- bitwarden 사용자 생성
useradd -G docker,sudo -s /bin/bash -m -d /opt/bitwarden bitwarden- 패스워드 설정
passwd bitwarden- 소유권 변경
chown -R bitwarden: /opt/bitwarden- bitwarden 호스팅 페이지에 접속하여 설치 key와 id 받기
- 이메일 등록 후 발급 가능(회원 가입은 안해도 된다.)
https://bitwarden.com/host/- 사용자 전환 및 bitwarden 설치 스크립트 다운로드
su - bitwarden

curl -Lso bitwarden.sh https://go.btwrdn.co/bw-sh- 다운로드한 스크립트 실행 권한 설정
chmod +x bitwarden.sh- bitwarden 암호 관리자 설치
sudo ./bitwarden.sh install| |__ (_) |___ ____ _ _ __ __| | ___ _ __
| '_ \| | __\ \ /\ / / _` | '__/ _` |/ _ \ '_ \
| |_) | | |_ \ V V / (_| | | | (_| | __/ | | |
|_.__/|_|\__| \_/\_/ \__,_|_| \__,_|\___|_| |_|
Open source password management solutions
Copyright 2015-2024, 8bit Solutions LLC
https://bitwarden.com, https://github.com/bitwarden
===================================================
bitwarden.sh version 2024.2.4
Docker version 20.10.17, build 100c701
docker-compose version 1.29.2, build 5becea4c
(!) Enter the domain name for your Bitwarden instance (ex. bitwarden.example.com): 192.168.0.22
(!) Do you want to use Let's Encrypt to generate a free SSL certificate? (y/n): n
(!) Enter the database name for your Bitwarden instance (ex. vault): bitwarden(!) Enter your installation id (get at https://bitwarden.com/host): 발급 받은 id 입력
(!) Enter your installation key: 발급 받은 key 입력
(!) Do you have a SSL certificate to use? (y/n): n
(!) Do you want to generate a self-signed SSL certificate? (y/n): y- bitwarden 서비스 실행
sudo ./bitwarden.sh start- docker image 확인
sudo docker images- 도커 컨테이너 확인
sudo docker ps- bitwarden 웹 접속
https://192.168.0.22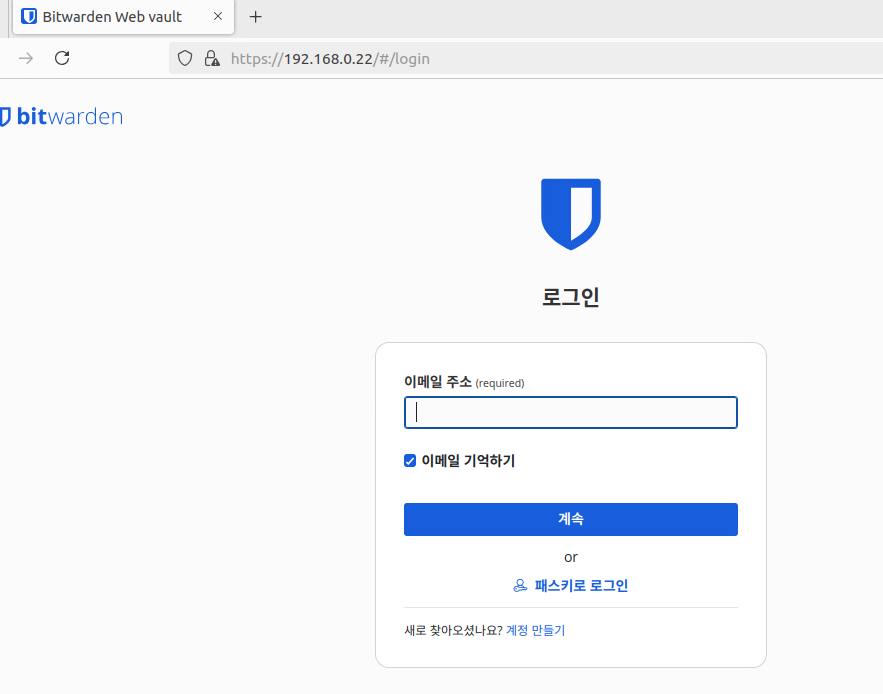
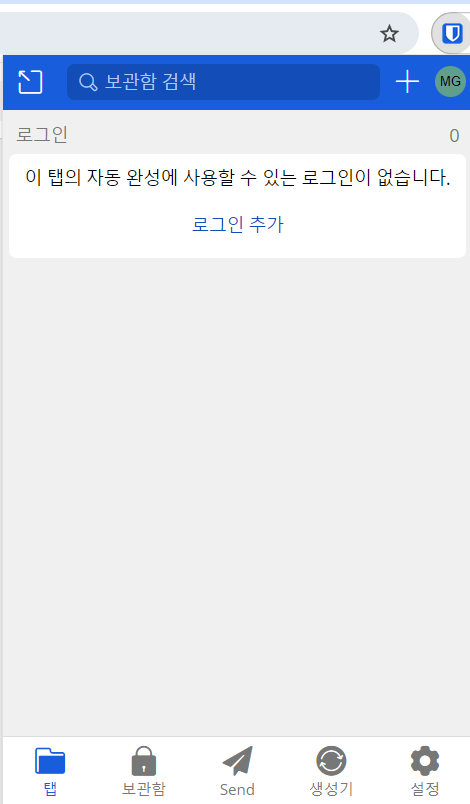
- 웹 브라우저 확장 프로그램 설치하여 편리하게 이용할 수 있다.
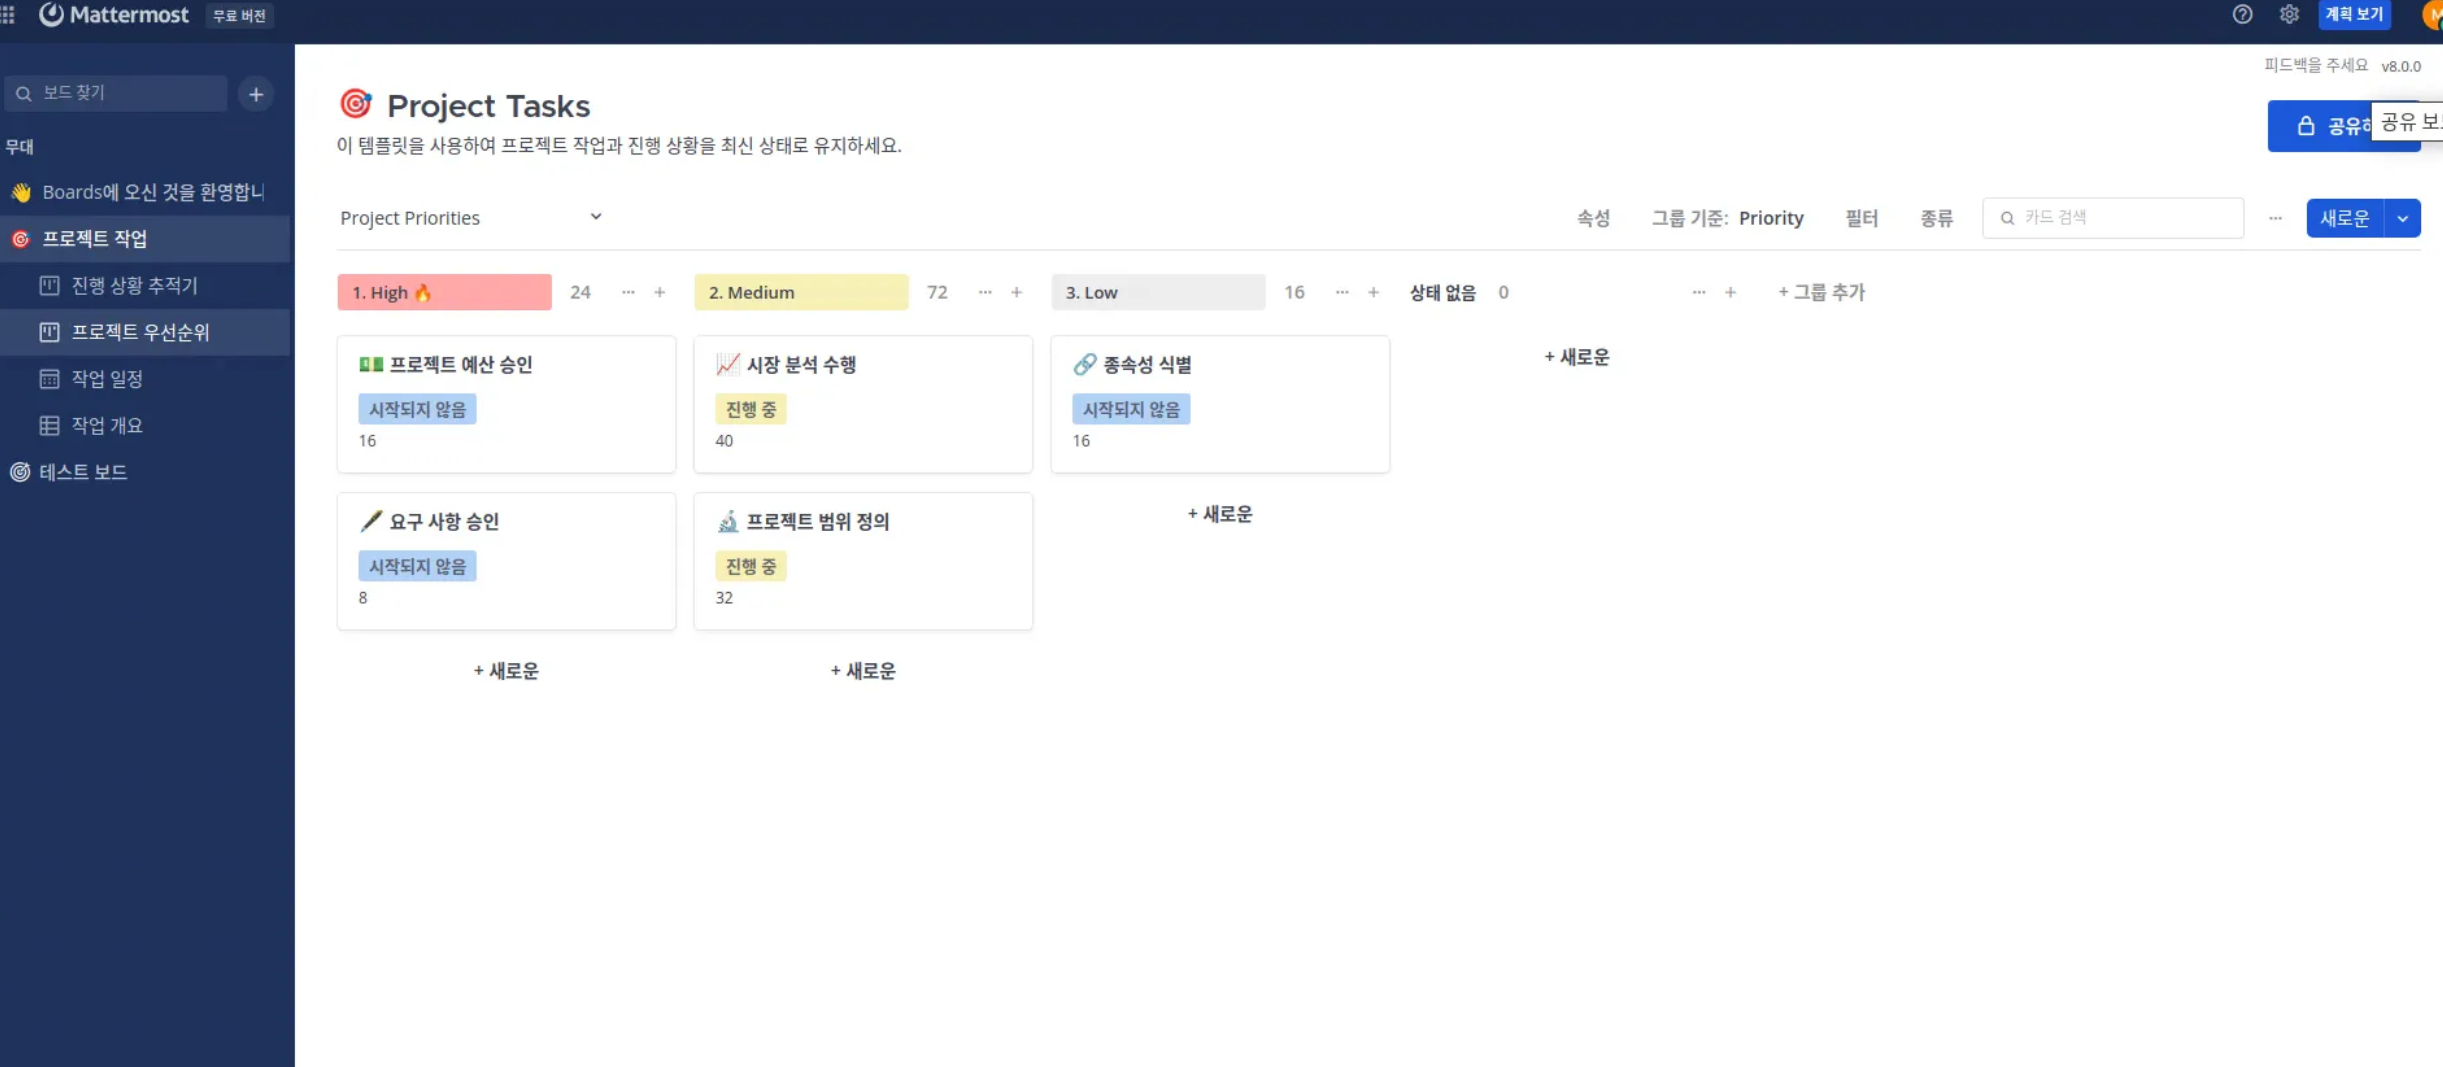
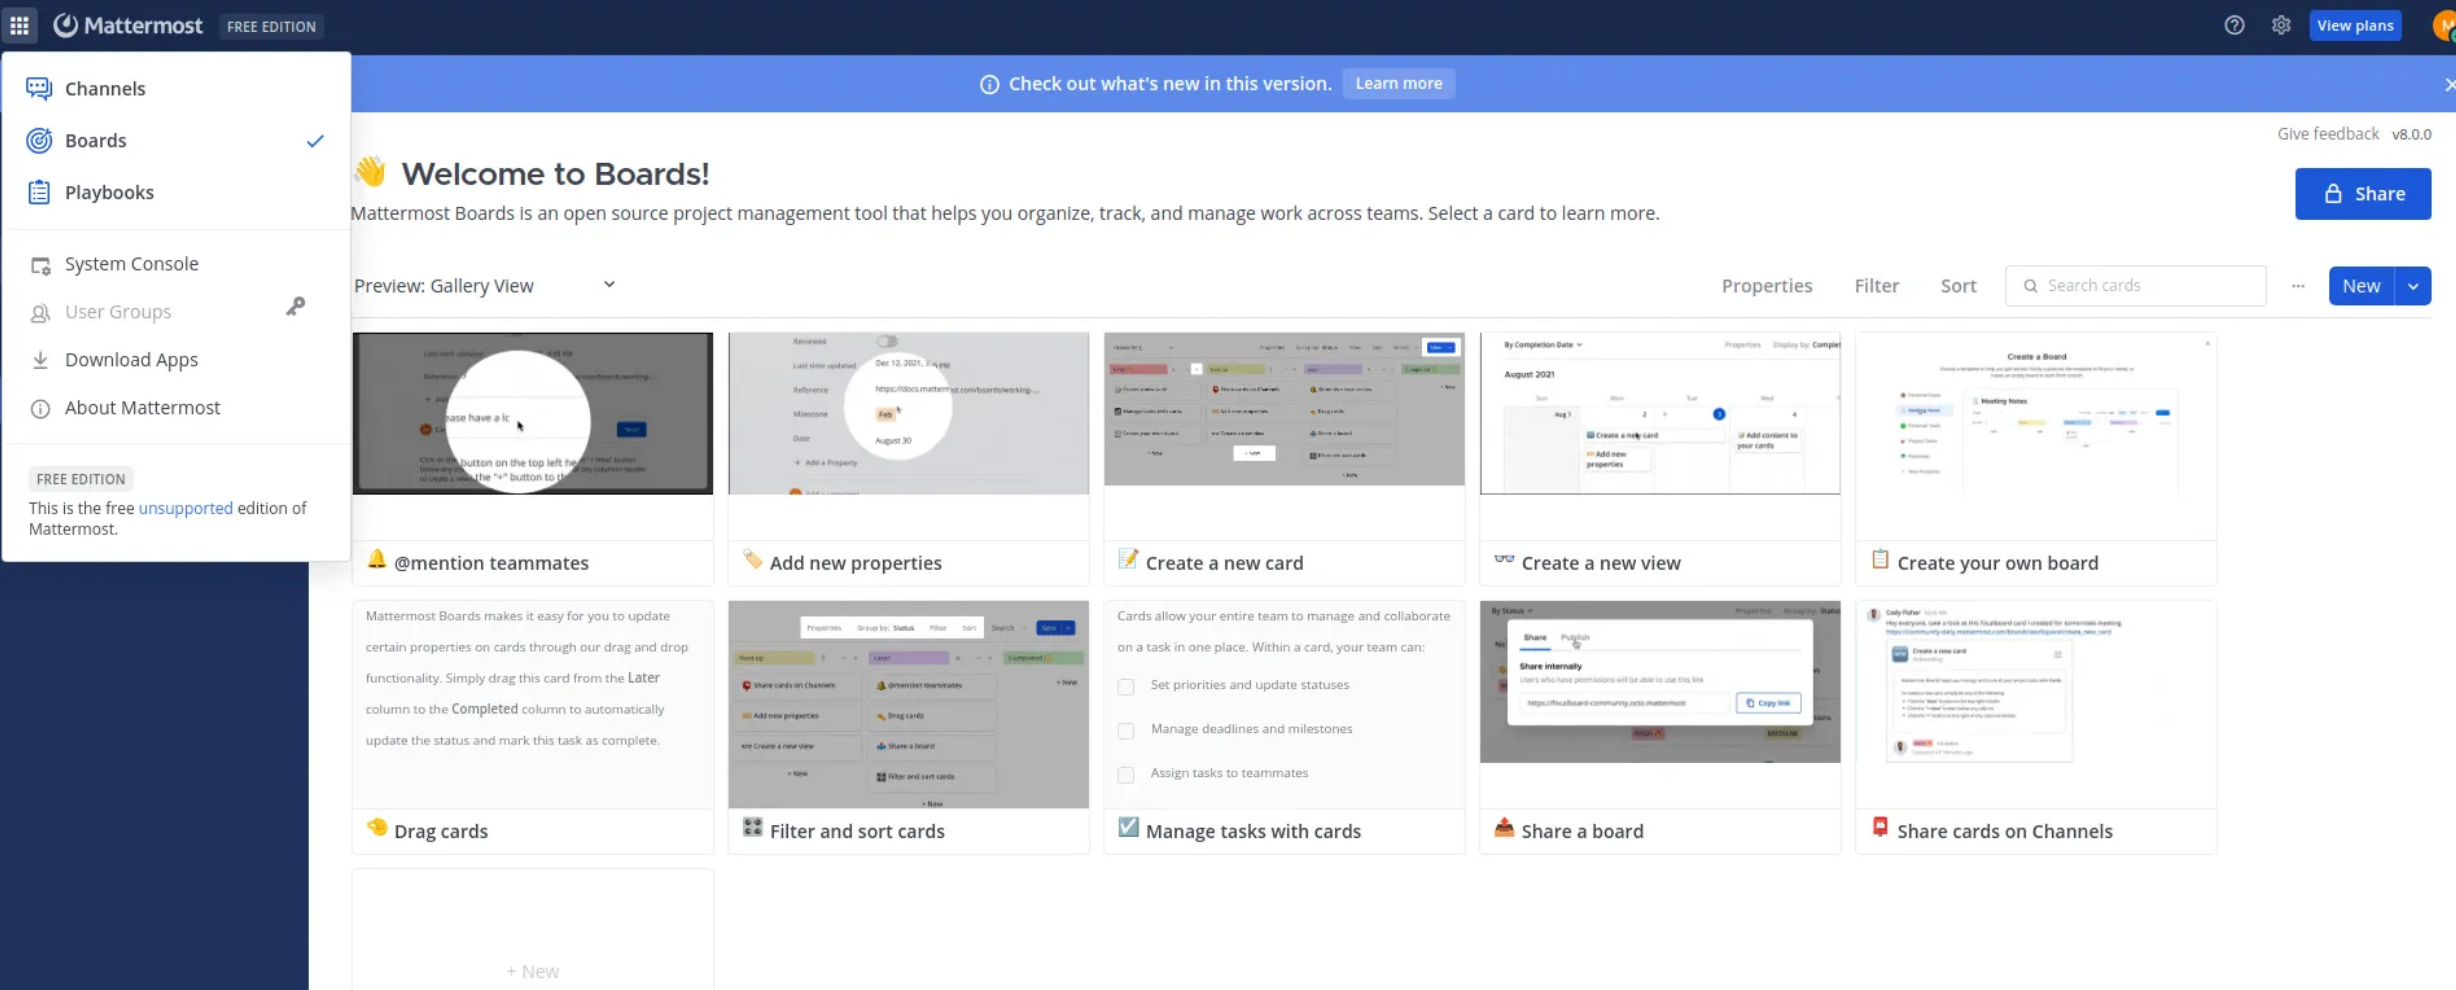
Mattermost (오픈소스 협업/메신저 플랫폼 구축)
Mattermost는 팀 협업을 위한 오픈 소스 채팅 플랫폼으로, 팀 채팅, 파일 공유, 알림 통합 등 다양한 협업 도구를 제공해준다. Slack이나 Microsoft Teams와 비슷하지만, 자체 호스팅이 가능하다는 점이 특징이며, Focalboard는 Mattermost에서 제공하는 프로젝트 관리 도구로, Trello와 유사한 방식의 작업 관리 기능을 제공한다. Kanban 보드 형태를 기본으로 하며, 단독으로도 사용할 수 있다.
———————————————————————————————————————————
- Ubuntu 24.04
- docker 설치
———————————————————————————————————————————
- 업데이트 및 도커 설치
sudo apt update

sudo apt install -y docker.io- docker 자동 재실행 적용
sudo systemctl enable docker

sudo systemctl start docker


# systemctl enable docker --now- mattermost 이미지 다운로드
docker pull mattermost/mattermost-team-edition:latest- PostgreSQL 이미지 다운로드
docker pull postgres:13- PostgreSQL 컨테이너 실행
- PostgreSQL을 Mattermost와 함께 사용할 데이터베이스로 설정
docker run --name mattermost-postgres \
-e POSTGRES_USER=testuser \
-e POSTGRES_PASSWORD=test \
-e POSTGRES_DB=mattermost \
-d postgres:13- Mattermost 컨테이너 실행
- Mattermost를 PostgreSQL과 연결
docker run --name mattermost \
-p 8065:8065 \
-e MM_CONFIG="postgres://testuser:test@mattermost-postgres:5432/mattermost?sslmode=disable" \
--link mattermost-postgres:mattermost-postgres \
-d mattermost/mattermost-team-edition:latest- docker 이미지 상태
docker ps

docker ps -a- docker 이미지 재실행
docker restart mattermost

docker restart mattermost-postgres- 웹 접속
http://192.168.1.131:8065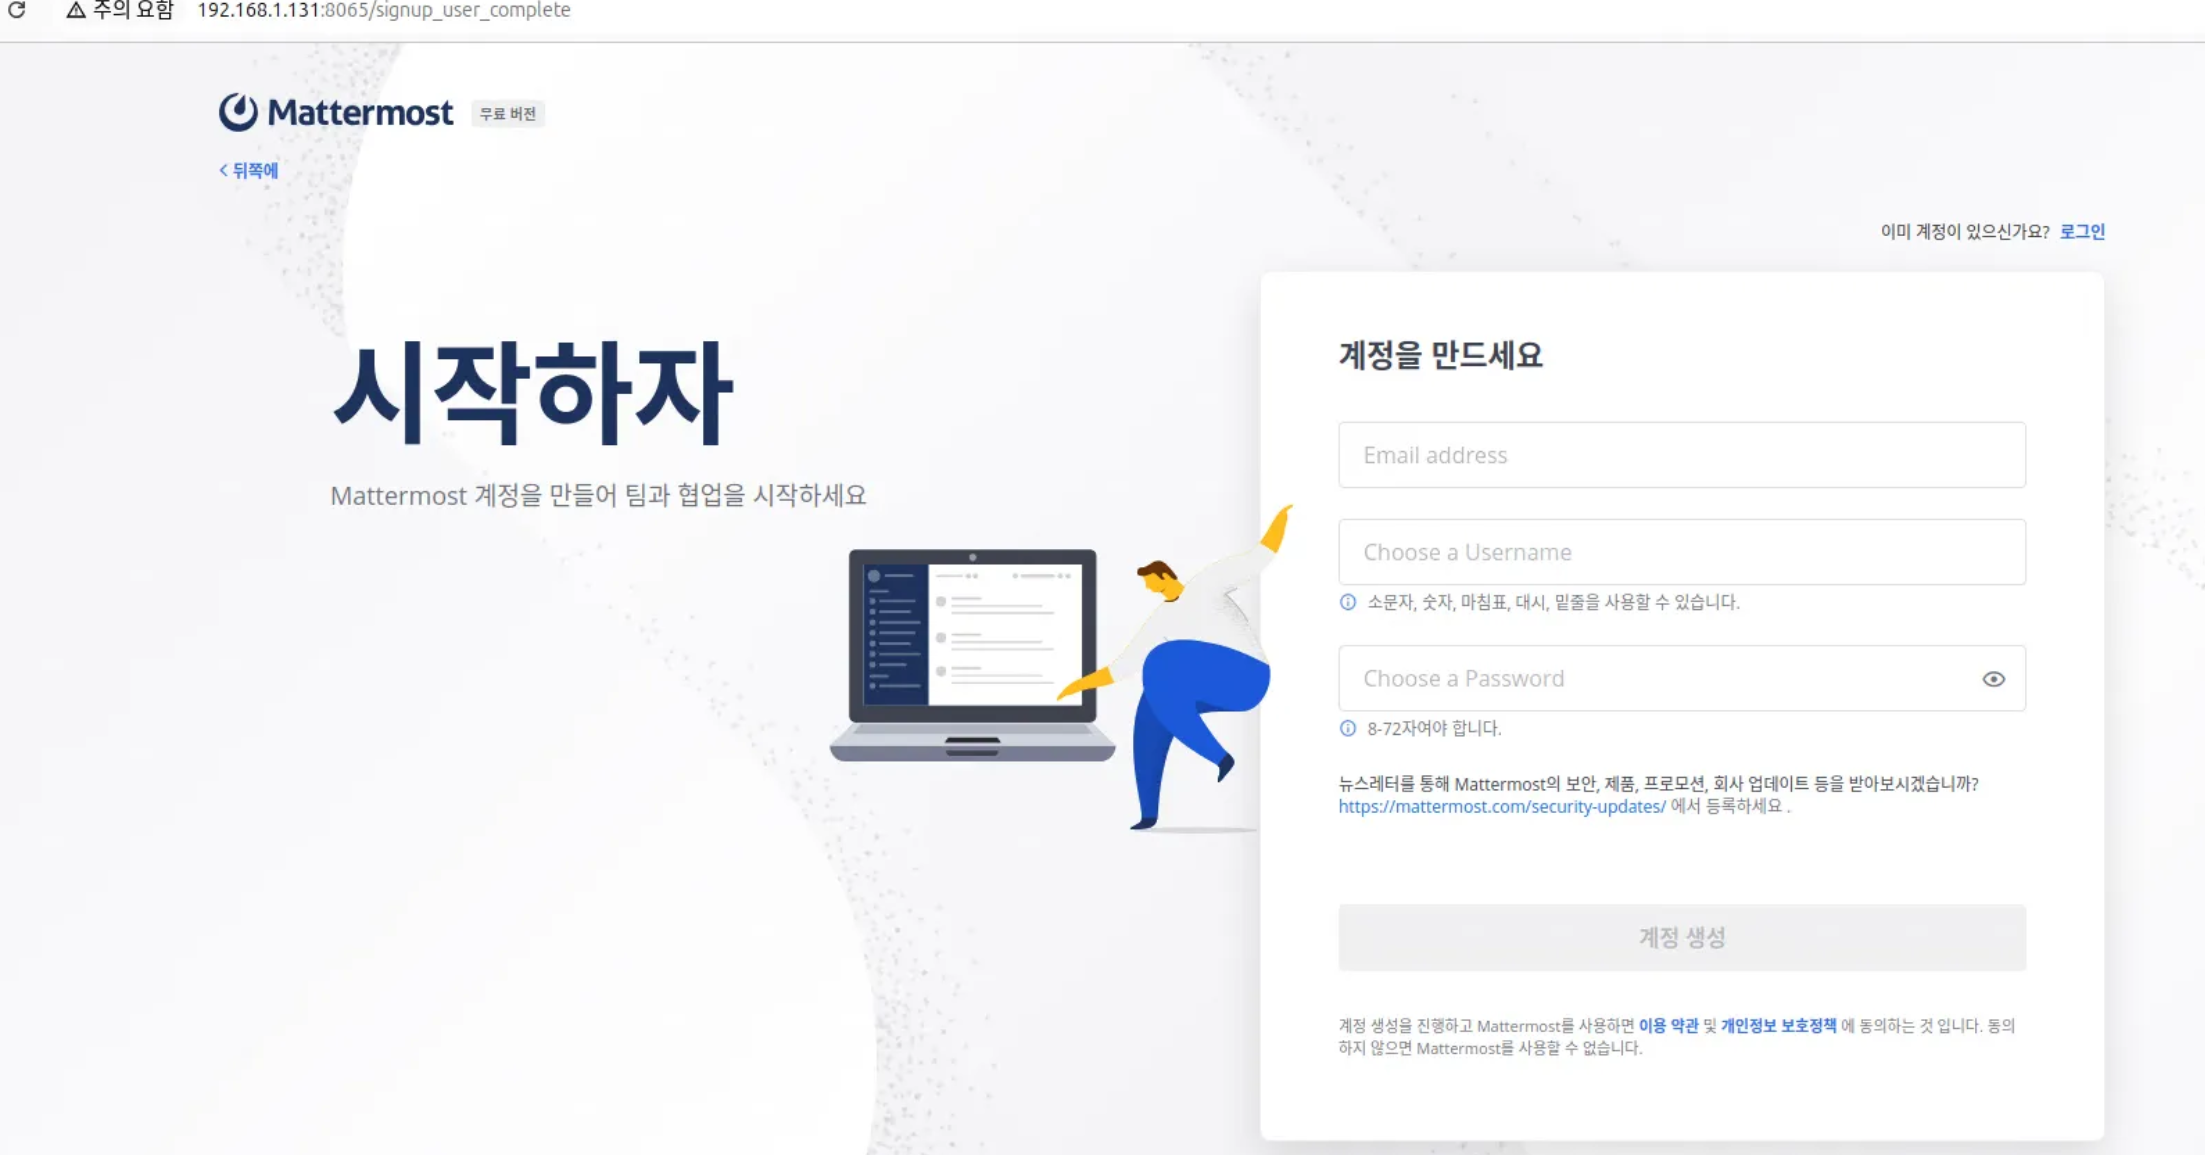
- plugin 활성화 방법(웹에서 파일 업로드 버튼이 비활성화 되어 활성화 진행 하였지만 적용되지 않음)
- focalboard plugin 설치 작업을 따라하여 진행하면 된다.
- 로컬에서 편집기를 사용해 파일을 수정
vim config.json

# 원하는 경로 아무곳이나 상관 없음- PluginSettings 섹션을 생성
"PluginSettings": {
    "Enable": true,
    "EnableUploads": true,
"AllowInsecureDownloadUrl": true}- 수정된 설정 파일을 컨테이너 내부로 복사
docker cp ./config.json mattermost:/mattermost/config/config.json- mattermost 컨테이너 재시작
docker restart mattermost- focalboard plugin 설치
wget https://github.com/mattermost-community/focalboard/releases/download/v8.0.0/mattermost-plugin-focalboard-v8.0.0-linux-amd64.tar.gz- 다운로드 한 파일 도커 컨테이너 내부에 복
docker cp mattermost-plugin-focalboard-v8.0.0-linux-amd64.tar.gz mattermost:/mattermost/plugins- 도커 컨테이너 내부 접속하여 tar.gz 압축 해제
docker exec -it mattermost bash

cd plugins

tar -xvf mattermost-plugin-focalboard-v8.0.0-linux-amd64.tar.gz- 시스템 재시작
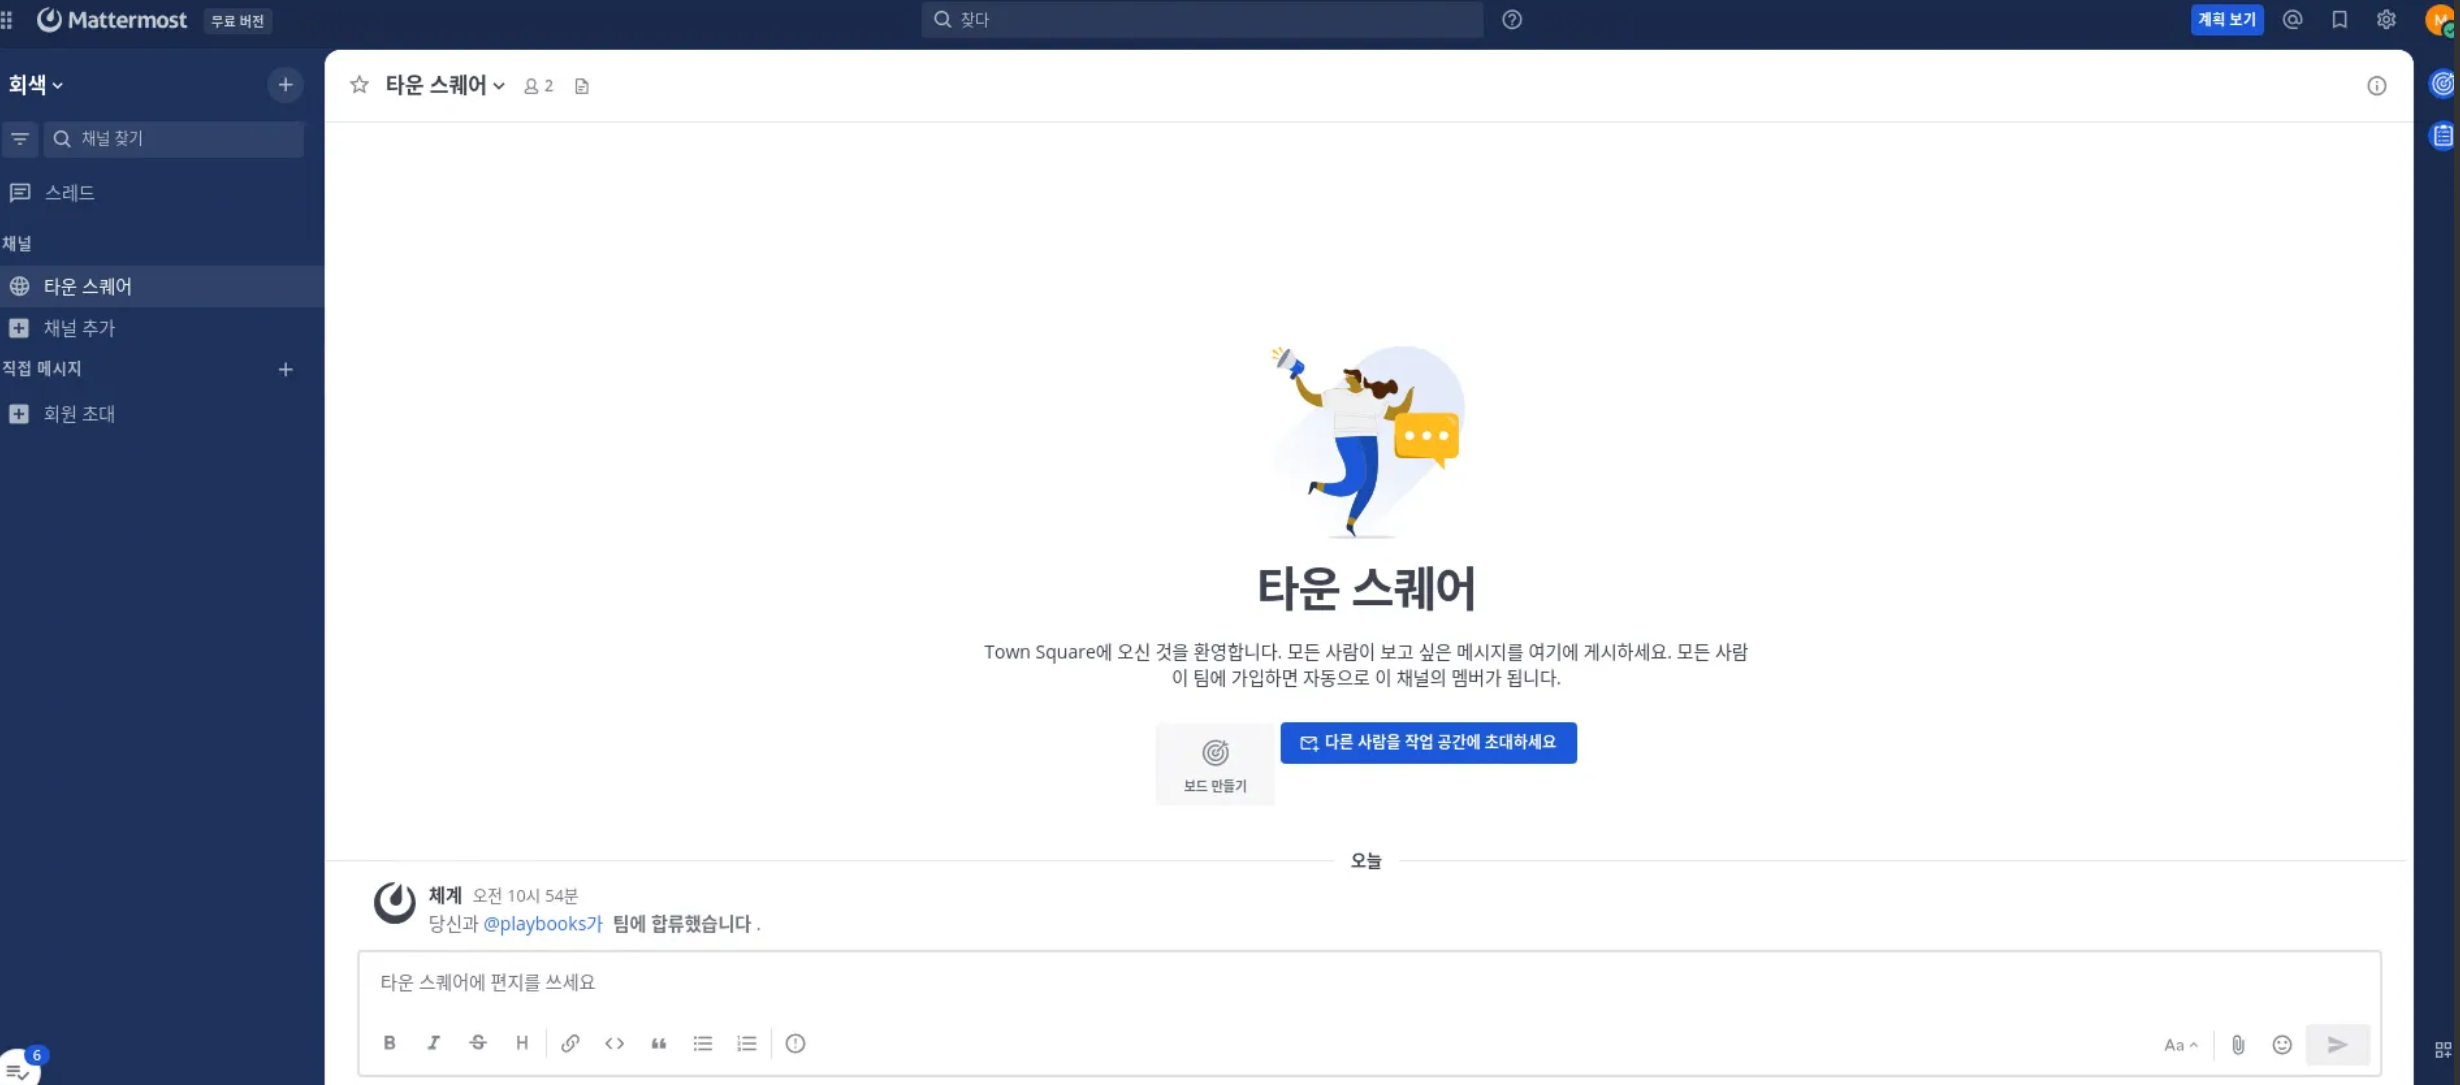
docker restart mettermost- 웹에 접속해서 메뉴에 보드가 추가 된 것을 확인
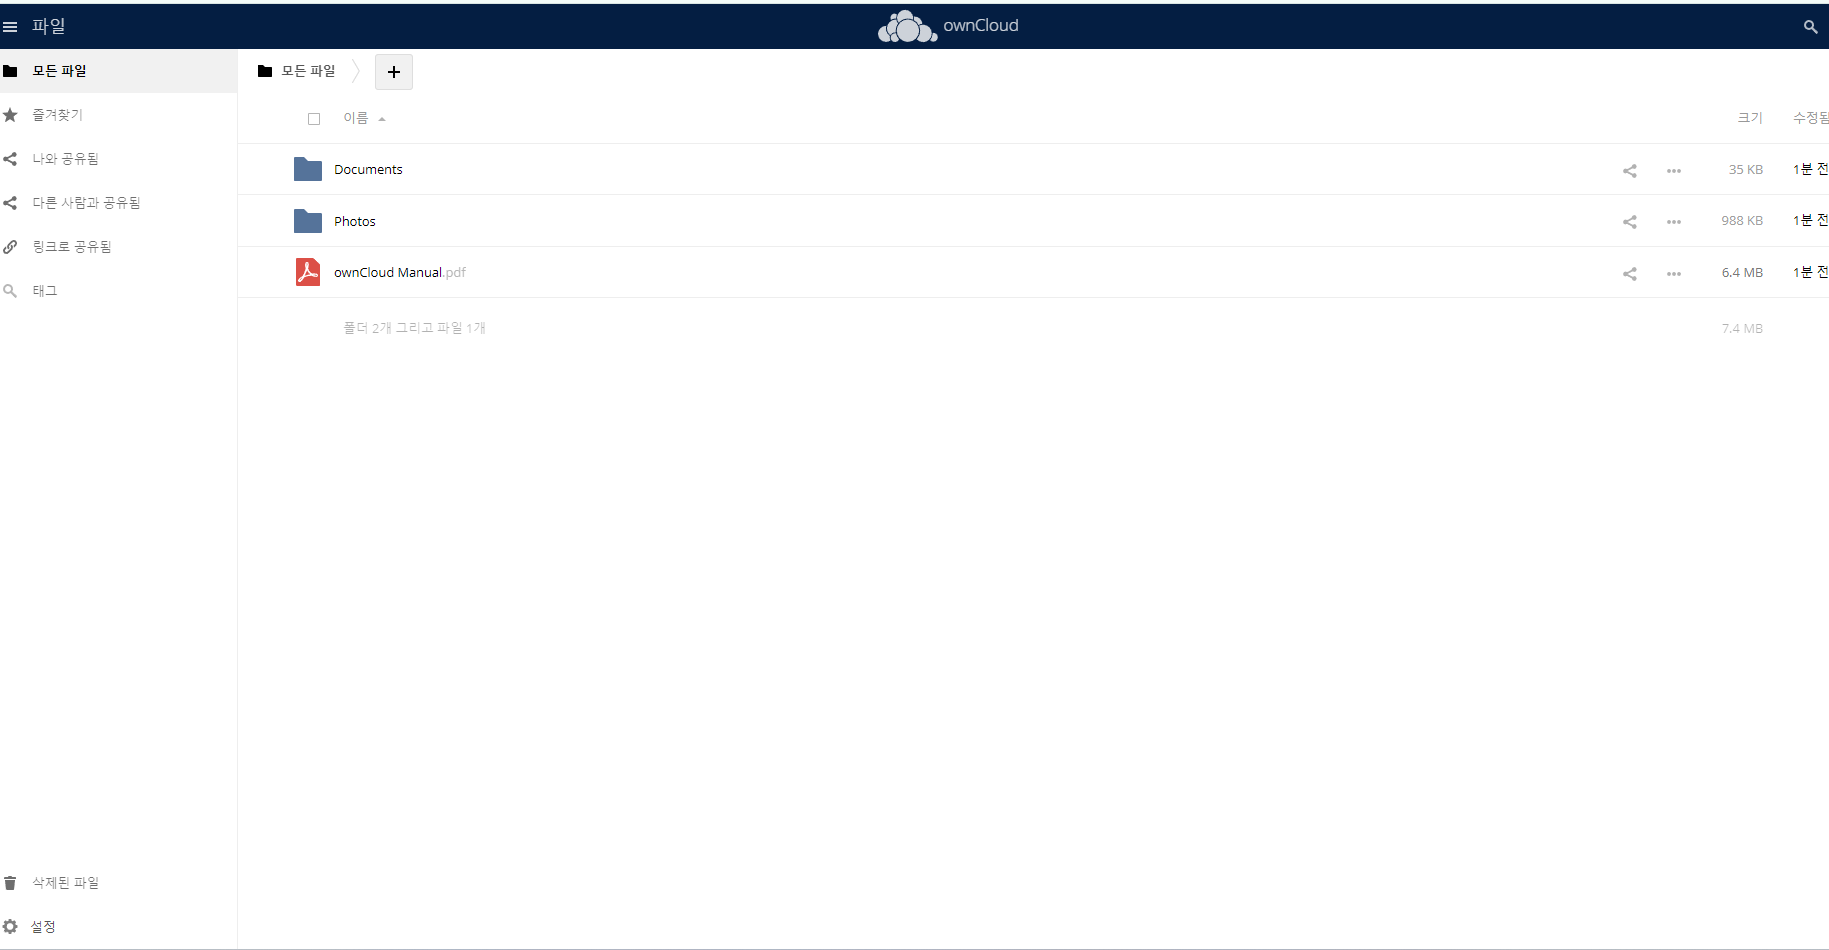
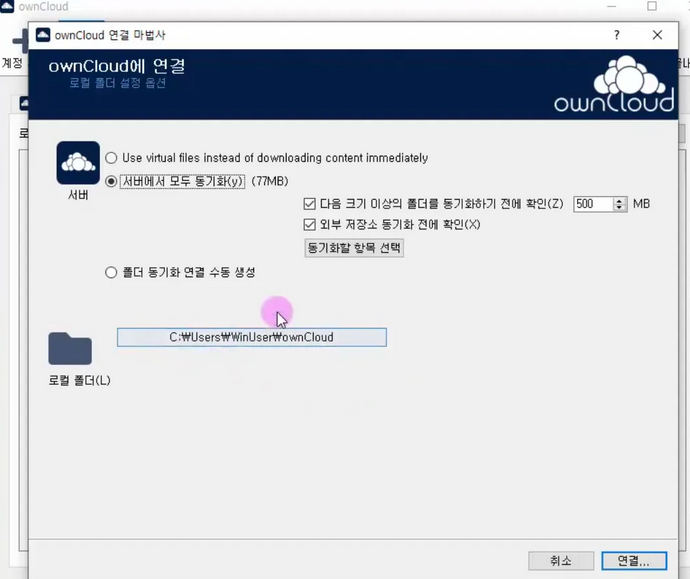
Owncloud
OwnCloud는 파일을 관리하고 공유할 수 있는 오픈소스 소프트웨어이다. 클라우드 저장소와 유사하게 파일을 업로드하고, 여러 기기에서 동기화하며, 다른 사람과 공유할 수 있다. 주로 개인 서버나 사내 서버에 설치해서 사용할 수 있고, 파일 접근 권한을 설정해 보안을 강화하거나 다양한 플러그인을 통해 기능을 확장할 수도 있다.
———————————————————————————————————————————
- 설치 파일
- 윈도우 클라이언트 설치 파일
———————————————————————————————————————————
- Rocky 9.4
———————————————————————————————————————————
- php74_owncloud 압축 해제 및 설치
- 위치 상관 없음
tar -zxvf php74_owncloud.tgz

dnf -y install *.rpm
- 마리아디비 실행
systemctl enable mariadb --now- 마리아디비 설정
mysql

CREATE DATABASE testdb;

GRANT ALL ON testdb.* TO webUser@localhost IDENTIFIED BY 'test12';
- 아파치 실행
systemctl enable httpd --now- owncloud.10.10.10 이동
/var/www/html/

unzip owncloud-10.10.0.zip

# owncloud 하위에 data 디렉토리 생성
mkdir -p /owncloud/data
- 권한 변경
chown -R apache:apache owncloud

chmod -R 755 owncloud- 재실행
systemctl restart httpd- 웹 실행
- 윈도우 클라이언트 프로그램 설치
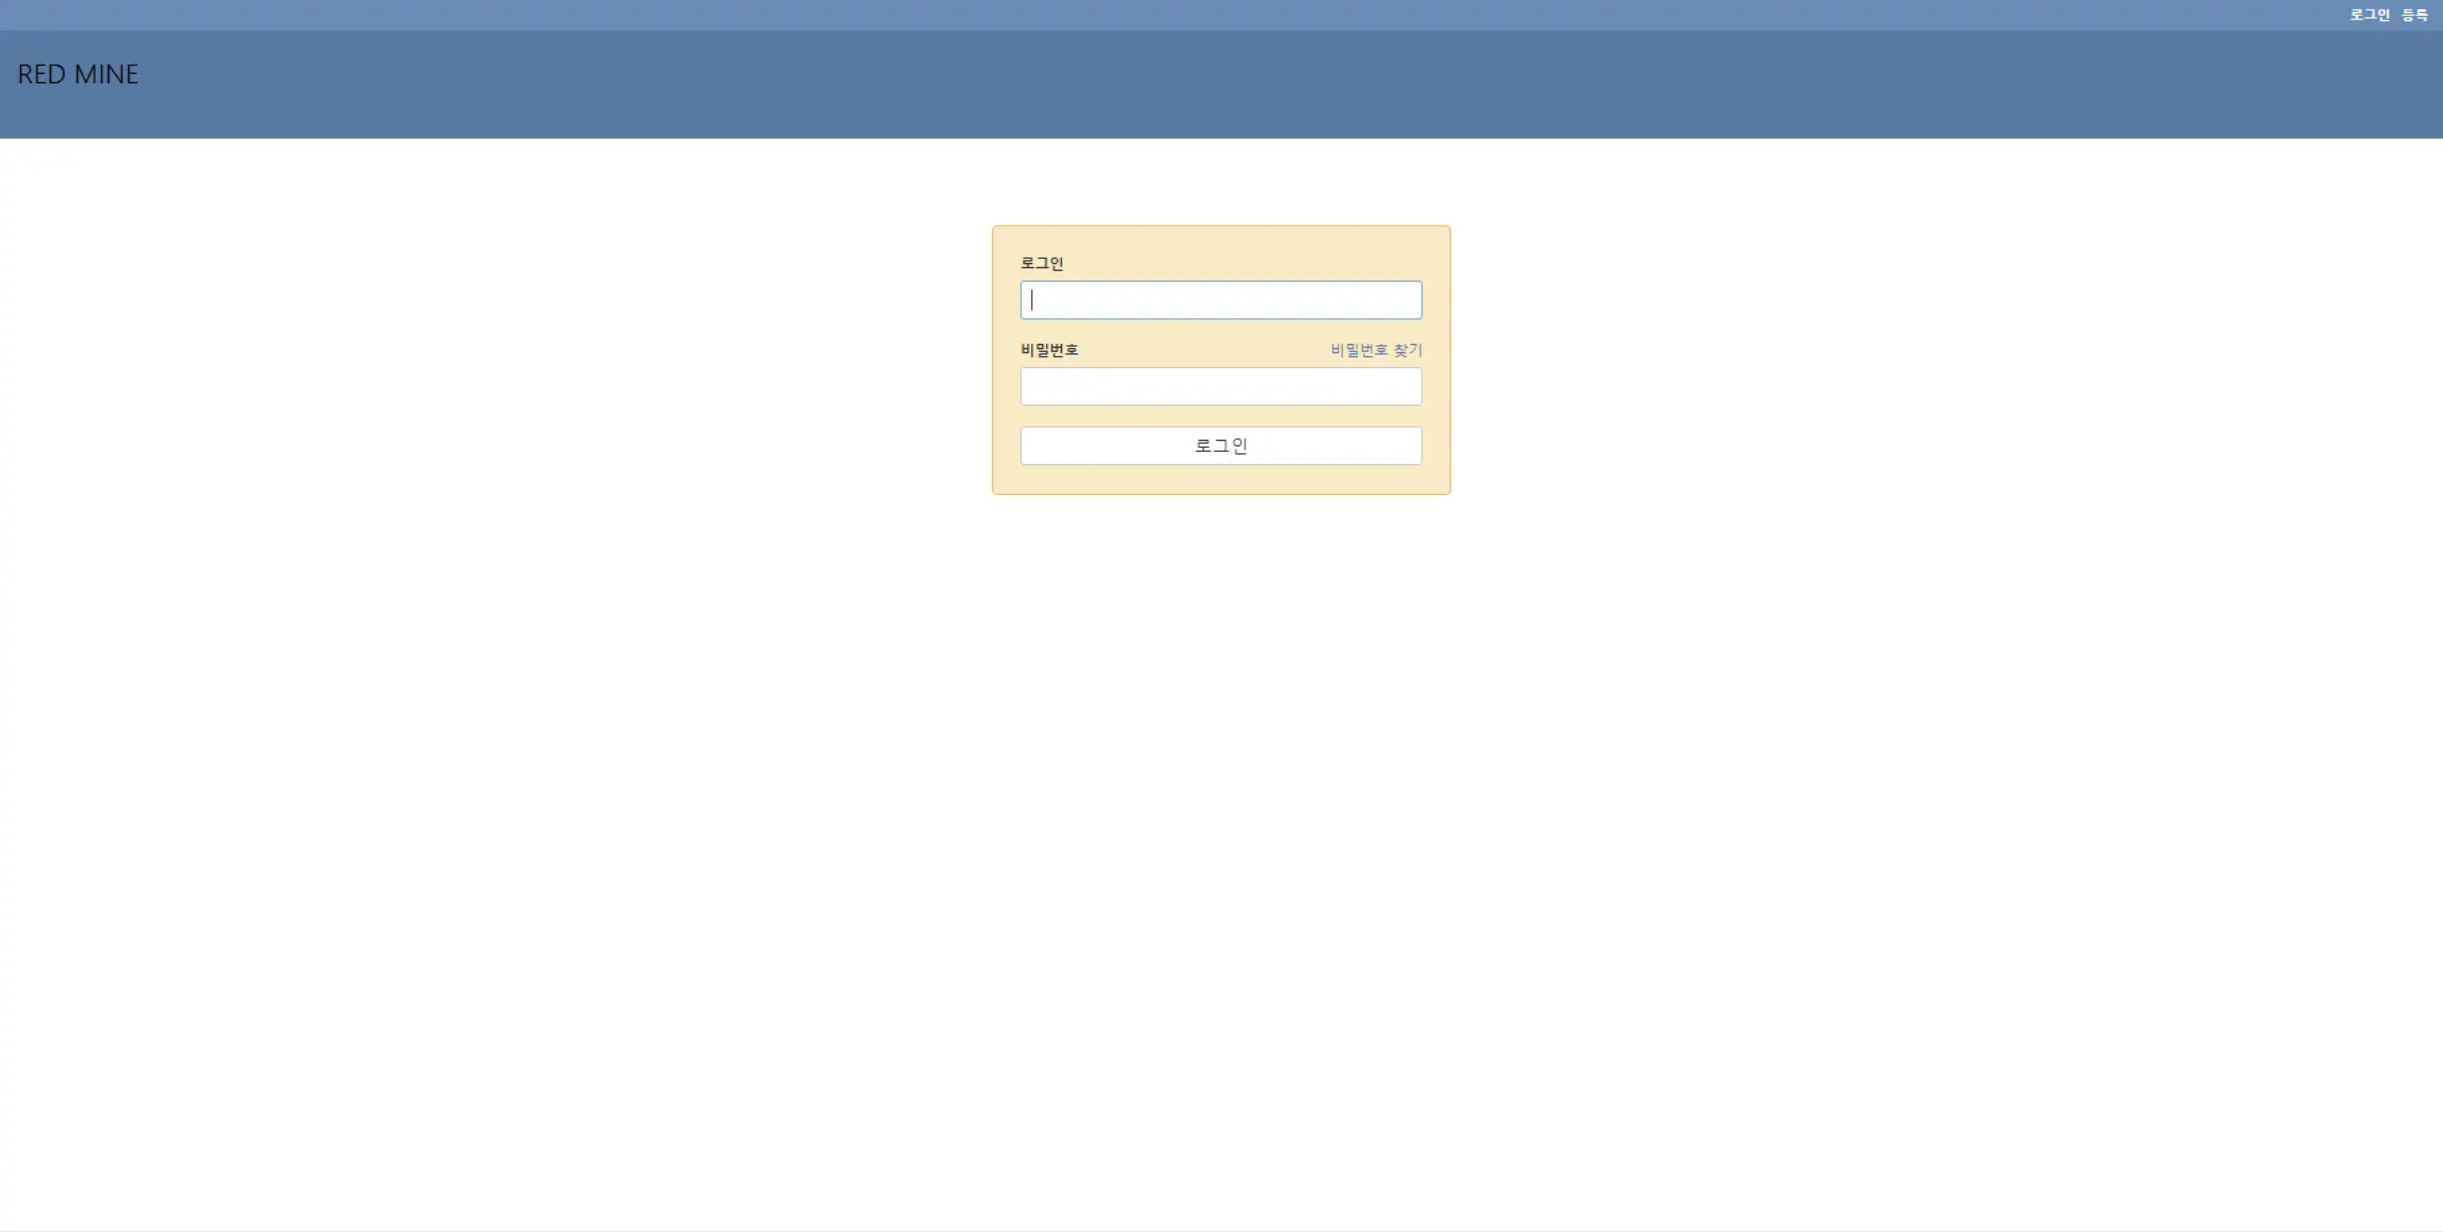
Redmine
레드마인은 웹 기반의 프로젝트 관리와 버그 추적 기능을 제공하는 도구이며 화면기반의 프로젝트 관리에 도움이 되도록 달력과 간트 차트를 제공하고 일정관리 기능을 제공하는 오픈 소스 프로그램입니다.
- Rocky 9.4
- docer repo 추가
yum-config-manager --add-repo https://download.docker.com/linux/centos/docker-ce.repo- docker, cli community edition, 리눅스 컨테이너 런타임 설치
yum -y install docker-ce docker-ce-cli containerd.io- 부팅시 자동 실행 등록
systemctl enable docker --now- mariadb 설치
yum -y install mariadb-server

sudo systemctl enable mariadb --now- db 초기 설정
mysql_secure_installation- db 접속
mysql -u root -p- 계정 생성
CREATE USER 'redmine'@'%' IDENTIFIED BY 'test123';- 데이터베이스 생성
CREATE DATABASE IF NOT EXISTS redmine DEFAULT CHARACTER SET utf8 COLLATE utf8_unicode_ci;- 계정에 권한 부여
GRANT SELECT, LOCK TABLES, INSERT, UPDATE, DELETE, CREATE, DROP, INDEX, ALTER ON redmine.* TO 'redmine'@'%';- 유저 조회
SELECT Host, User, Password FROM mysql.user;- 도커 실행
docker run -d --name=redmine --publish=3000:3000 \
--restart=always \
--env='DB_ADAPTER=mysql2' \
--env='DB_HOST=localhost' \
--env='DB_PORT=3306' \
--env='DB_NAME=redmine' \
--env='DB_USER=redmine' \
--env='DB_PASS=redmine' \
--volume=/srv/redmine/data:/usr/src/redmine/files \
redmine- 웹접속
개인 Web Server 복구 작업
esxi 에서 운영되고 있는 ssunmini.com 을 proxmox 마이그레이션
rear backup 시도 했지만 반복 되는 error 발생, 해결이 되지 않아 파일 백업하여 복구 진행
- httpd 실행
systemctl start httpd- error 발생
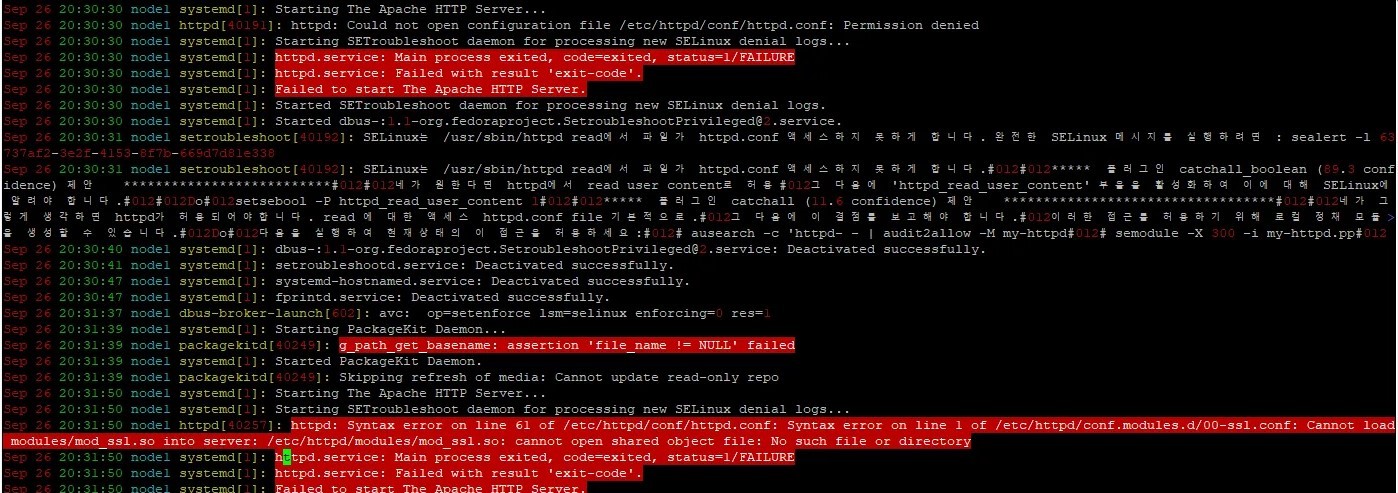
- module 설치
dnf -y install mod_ssl - mariadb 복구
mysqldump -u root -p DB명 < db.sql- error 발생
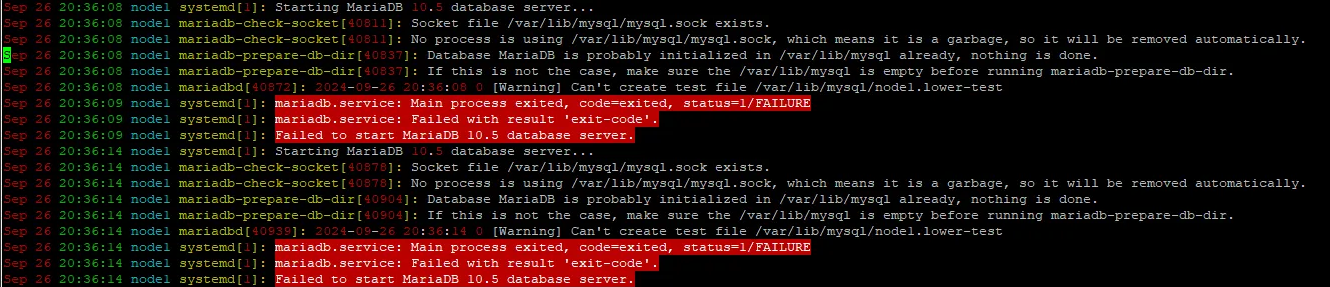
- 권한 변경
- /var/lib/mysql/ 하위 디렉토리가 전부 일반 사용자(min 으로 되어 있었음)
chown -R mysql:mysql mysql 권한 변경 - 복구 완료
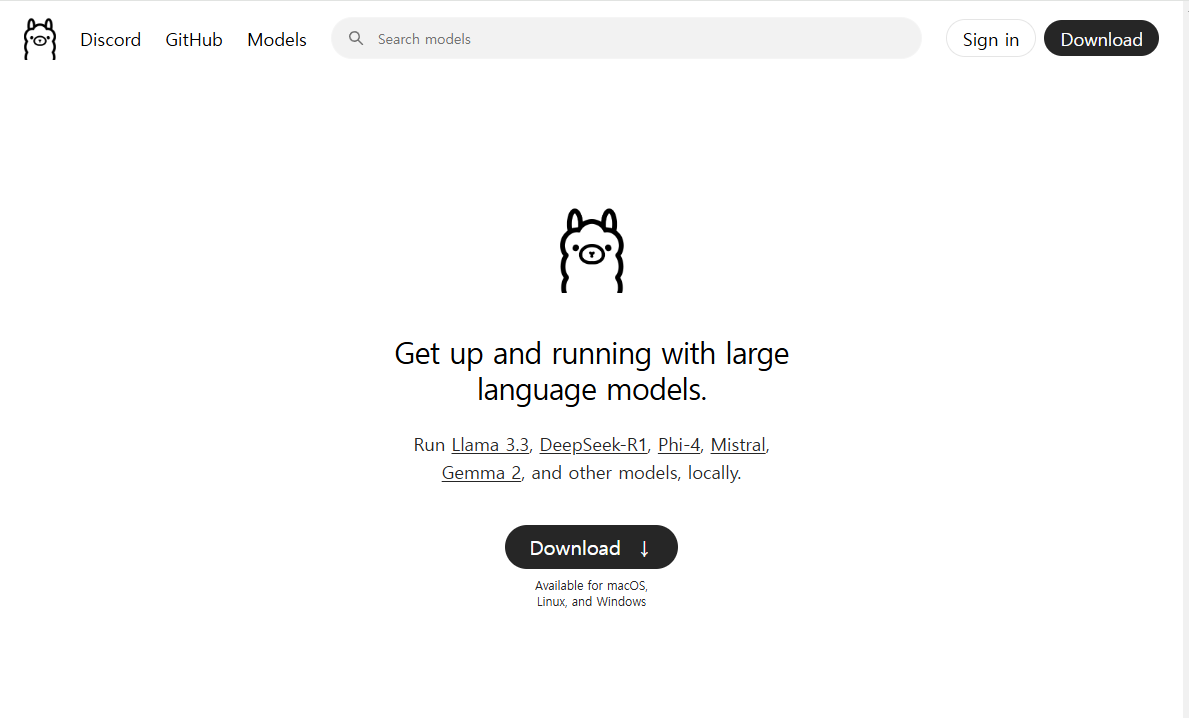
deepseek 설치
windows11 deepseek r-1 14b 설치 방법
———————————————————————————————————————————
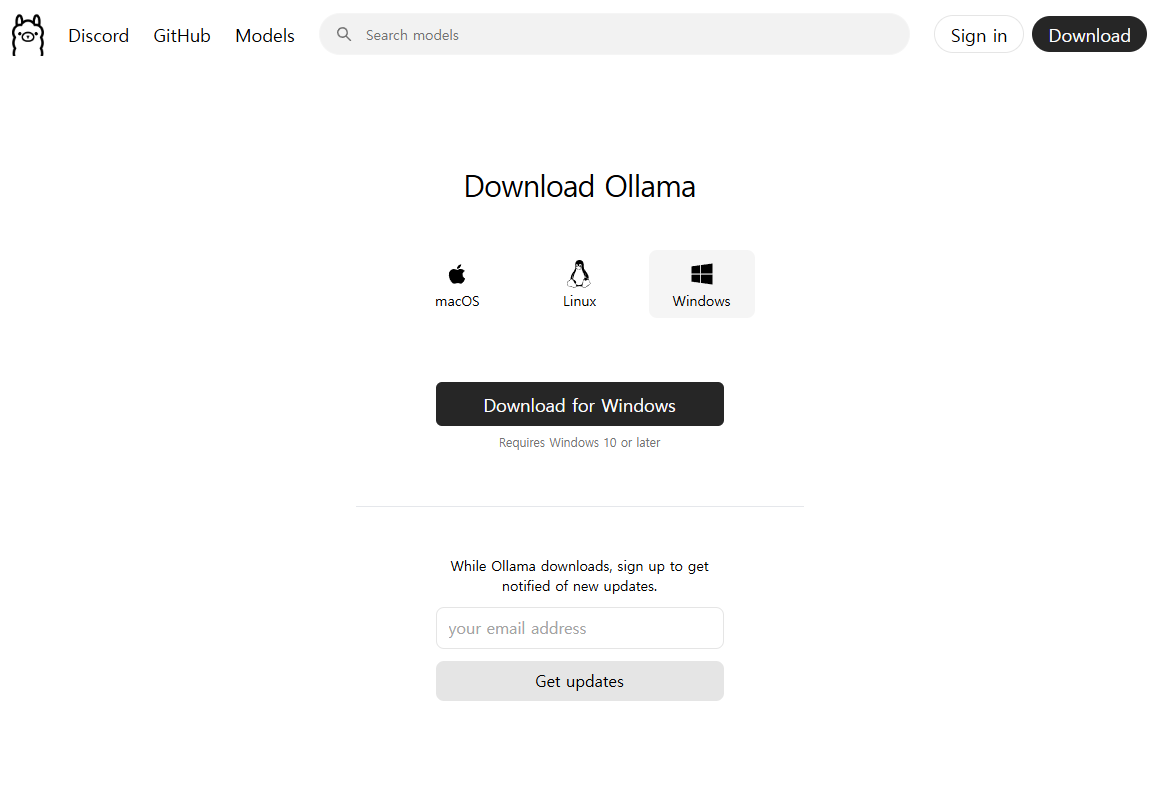
- ollama 설치
- https://ollama.com
- Download
- windwos 선택 후 다운로드
- https://ollama.com
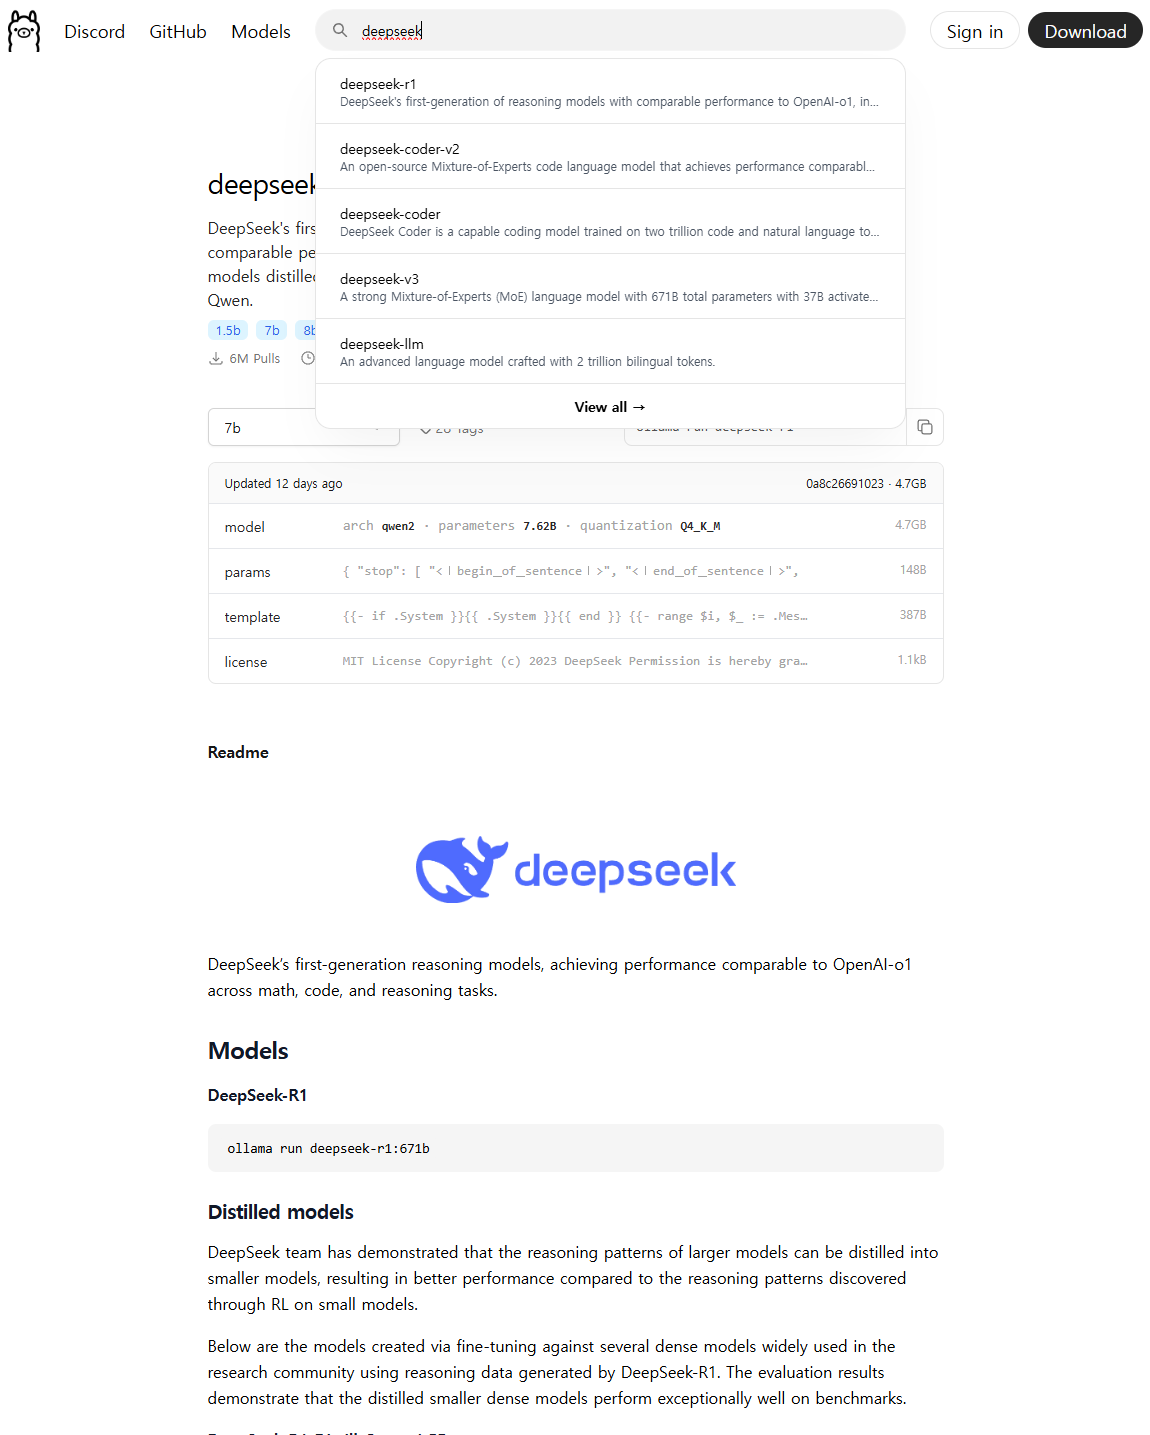
- deepseek r-1 모델 다운로드
- 검색 창에 deepseek
- 원하는 모델 확인
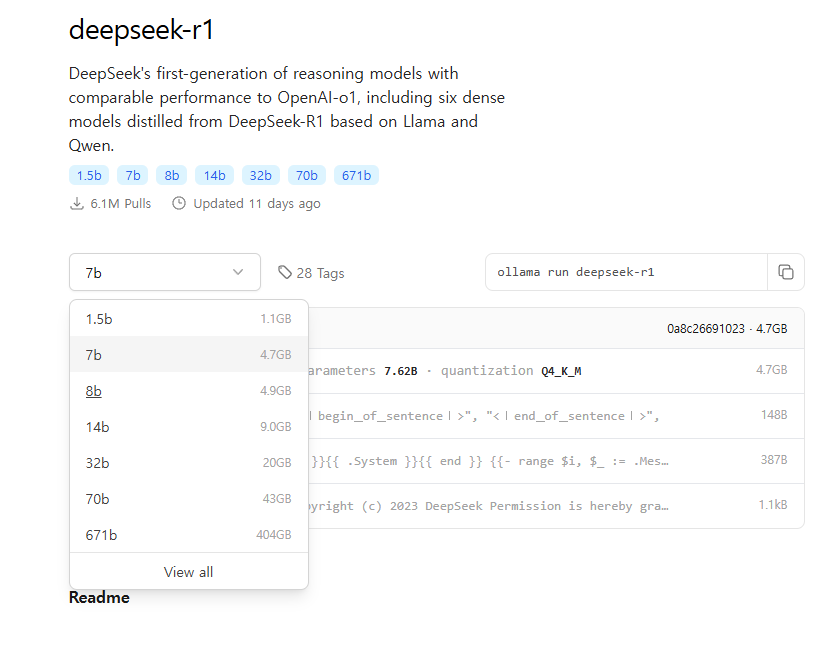
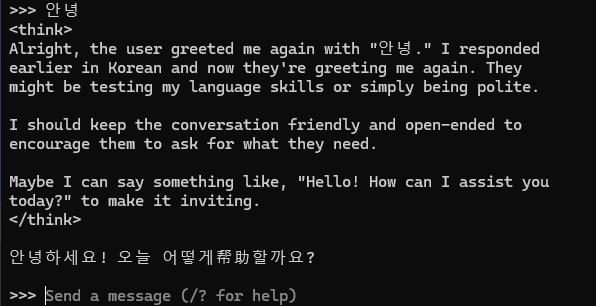
- 모델 실행
- CMD 창에서 명령어 실행
ollama run deepseek-r1:8b- 완료 후 실행 상태
- 모델 중지
ollama stop deepseek-r1:8b- 모델 삭제
ollama rm deepseek-r1:8b- GUI 로 구현
- ollama 설치 (앞 전에 설치 했기 때문에 진행 할 필요 없음)
- open webUI 설치
pip install open-webuipython.exe -m pip install --upgrade pipopen-webui serve
- http://localhost:8080 접속
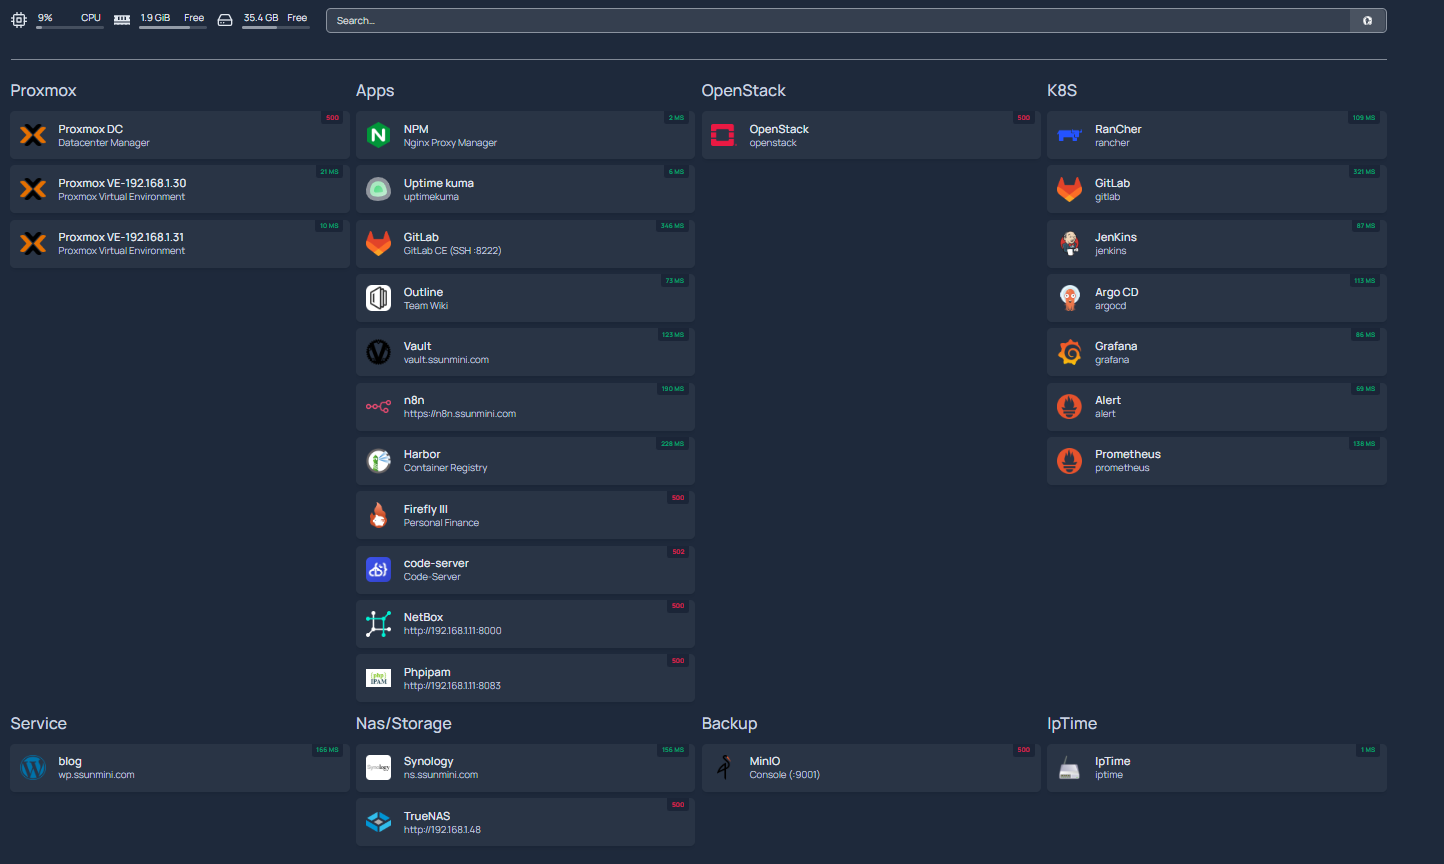
Homepage Dashboard
1-1. 패키지 업데이트 & 필수 도구
sudo dnf -y update
sudo dnf -y install curl wget git jq ta
1-2. Docker & Compose 플러그인
# Docker CE 저장소 추가
sudo dnf -y install dnf-plugins-core
sudo dnf config-manager --add-repo <https://download.docker.com/linux/centos/docker-ce.repo>

# Docker 설치
sudo dnf -y install docker-ce docker-ce-cli containerd.io

# 기동/부팅 등록
sudo systemctl enable --now docker

# Compose 플러그인
sudo dnf -y install docker-compose-plugin

# 확인
docker --version
docker compose version
1-3. 방화벽
sudo firewall-cmd --permanent --add-port=3001/tcp
sudo firewall-cmd --reload
2) 디렉터리 구성
sudo mkdir -p /opt/homepage/config
cd /opt/homepage
3) Docker Compose
/opt/homepage/docker-compose.yml
version: "3.8"

services:
  homepage:
    image: ghcr.io/gethomepage/homepage:latest
    container_name: homepage
    restart: unless-stopped
    environment:
      - TZ=Asia/Seoul

      # v1.0부터 필수: 허용할 "접속 호스트:포트"를 콤마(공백 없이)로 나열
      # 로컬 직접 접속(192.168.1.11:3001) + 프록시 도메인(예: home.ssunmini.com) 모두 적기
      - HOMEPAGE_ALLOWED_HOSTS=192.168.1.11:3001,localhost:3000,127.0.0.1:3000

      # (선택) 비루트 실행 시 UID/GID 지정
      # - PUID=1000
      # - PGID=1000

    ports:
      - "3001:3000"

    volumes:
      - ./config:/app/config:Z
      # (선택) 도커 소켓 연동 시
      # - /var/run/docker.sock:/var/run/docker.sock:ro
4) 기본 설정 파일
/opt/homepage/config/ 아래에 YAML 파일들을 둡니다.
4-1. settings.yaml
title: "Homepage Dashboard"
theme: dark

# 열(섹션) 순서
layout:
  - Proxmox
  - Apps
  - OpenStack
설정 항목은 settings.yaml에서 정의합니다. (변경 후 페이지 우하단 새로고침 아이콘으로 정적 HTML 재생성) gethomepage.dev
4-2. services.yam
- Proxmox:
    - Proxmox DC:
        href: "<https://192.168.1.12:8443>"
        icon: "proxmox.png"
        description: "Datacenter Manager"
        siteMonitor: "<https://192.168.1.12:8443>"

    - Proxmox VE-192.168.1.31:
        href: "<https://192.168.1.31:8006>"
        icon: "proxmox.png"
        description: "Proxmox Virtual Environment"
        siteMonitor: "<https://192.168.1.31:8006>"

- Apps:
    - Outline:
        href: "<https://outline.ssunmini.com>"
        icon: "outline.png"
        description: "Team Wiki"
        siteMonitor: "<https://outline.ssunmini.com>"

    - MinIO:
        href: "<http://192.168.1.11:9001>"
        icon: "minio.png"
        description: "Console (:9001)"
        siteMonitor: "<http://192.168.1.11:9000>"

    - Firefly III:
        href: "<http://192.168.1.11:8051>"
        icon: "firefly.png"
        description: "Personal Finance"
        siteMonitor: "<http://192.168.1.11:8051>"

- OpenStack:
    - OpenStack:
        href: "<http://192.168.1.63>"
        icon: "openstack.png"
        description: "OpenStack Horizon"
        siteMonitor: "<http://192.168.1.63>"
4-3. bookmarks.yaml
---
- 관리:
    - Proxmox DC:
        - abbr: PDC
          href: <https://192.168.1.30:8006>

- Developer:
    - Github:
        - abbr: GH
          href: <https://github.com/>

- Social:
    - Reddit:
        - abbr: RE
          href: <https://reddit.com/>

- Entertainment:
    - YouTube:
        - abbr: YT
          href: <https://youtube.com/>
5) 기동·로그·재기동
cd /opt/homepage
docker compose up -d

# 로그
docker logs -f homepage

# 설정 변경 후 재배포
docker compose up -d
접속: 브라우저에서 http://192.168.1.11:3001
Python 정수형 자료형과 정수형 자료형의 연산
a=10
b=5
c=2.0
d=0.5
print(a+b)
print(a-b)
print(a*b)
print(a/b)
print(a//b)
print(a%b)
print(a**b)
15
5
50
2.0
2
0
100000
node.js 설치
ode.js는 자바스크립트를 서버에서 실행할 수 있게 해주는 오픈 소스 런타임 환경이다. 비동기 이벤트 기반과 단일 스레드 구조로 높은 성능을 제공하며, NPM을 통해 다양한 패키지를 쉽게 관리할 수 있다. 주로 웹 서버, 실시간 애플리케이션, 파일 처리 등에 사용
———————————————————————————————————————————
- Rocky 8.9
———————————————————————————————————————————
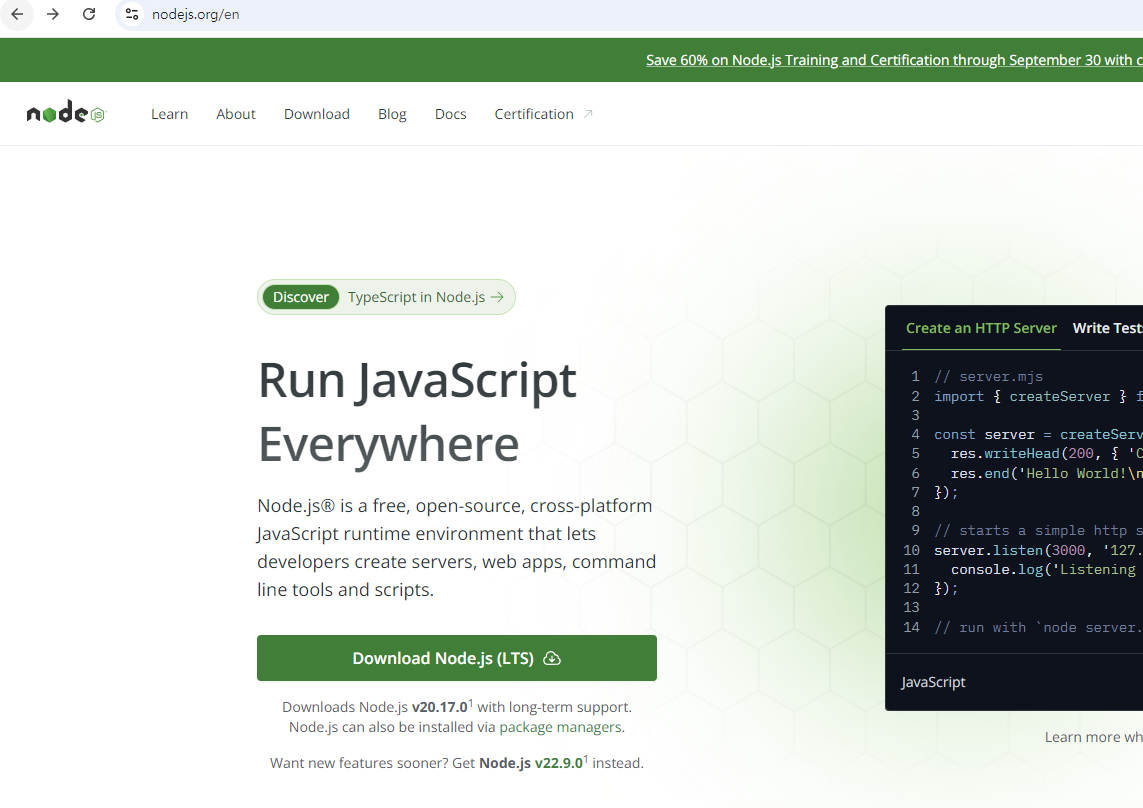
- node.js 바이너리 아카이브 다운로드
- https://nodejs.org/en/download
wget 또는 rpm 파일로 설치- 압축 해제
mv node-v14.15.3-linux-x64 /usr/local/lib/node- 환경 변수 설정
export NODEJS_HOME=/usr/local/lib/node

export PATH=$NODEJS_HOME/bin:$PATH- 환경 변수 설정
. ~/.bashrc- 버전 확인
node -v

npm version
npm install express
press는 Node.js로 웹 서버를 쉽게 구축할 수 있게 도와주는 웹 프레임워크이다.
Express를 사용하면 HTTP 요청 처리, 라우팅, 미들웨어 등을 간단하게 구현할 수 있다.
- express 다운로드
npm install express- node 설치 경로
- node 설치 된 경로에 파일들이 위치하고 있어야 node server.js 실행이 가능
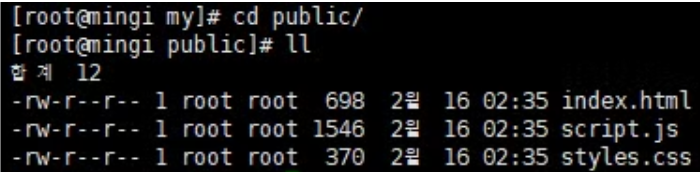
my-test/
│
├── public/
│   ├── index.html
│   ├── styles.css
│   └── script.js
└── server.js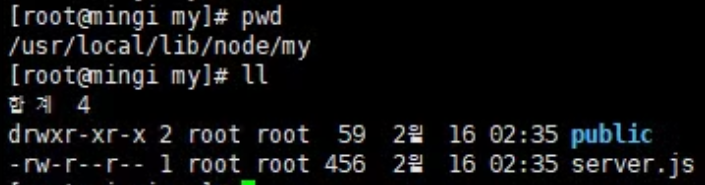
- 웹 접속
http://192.168.0.2:3000- node 실행
node server.js- 백그라운드 실행
nohup node server.js- 프로세스 확인
ps -ef | grep -i node* 장애 발생
- 서버 재부팅 후 node 보이지 않는 상황
- 환경 변수 설정을 다시 해준다.
export NODEJS_HOME=/usr/local/lib/node

export PATH=$NODEJS_HOME/bin:$PATH